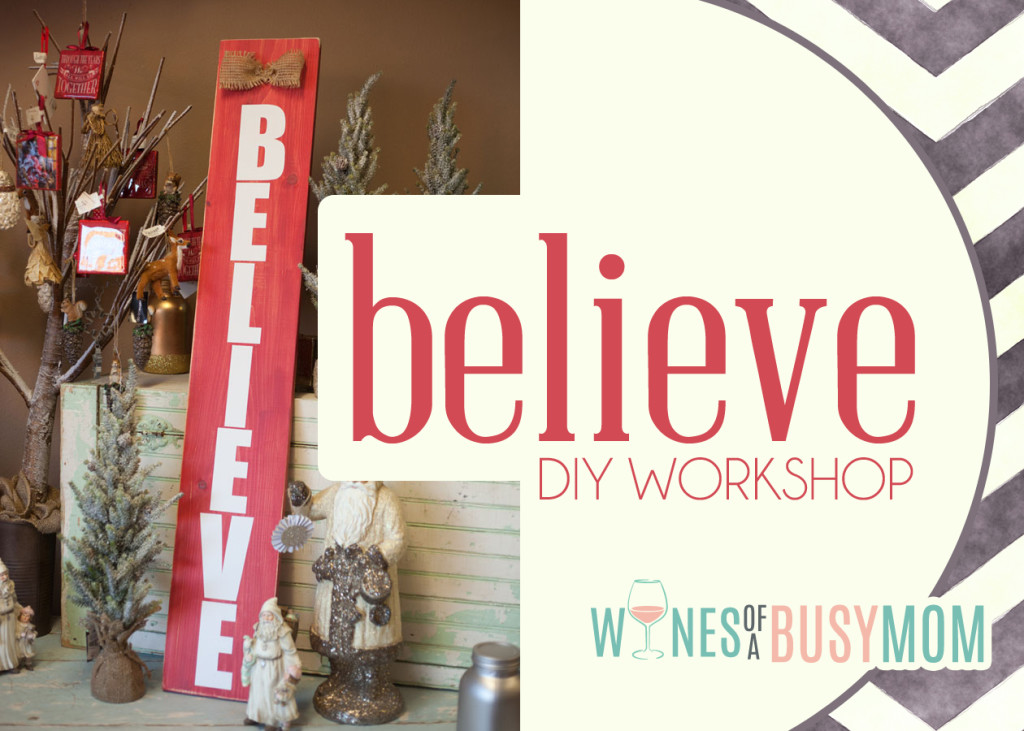
A couple weeks ago we had a BELIEVE Welcome Sign Class and I thought it would be fun to feature it as a DIY on the blog today! I am always look for easy, fun ideas to spruce up my house around Christmas to make it look a little more cheerful outside! So we made these fun BELIEVE Signs!
Supplies
- 1x8x4 (1×8 board 4 foot long)
- BELIEVE Vinyl lettering
- OR Make your own lettering with the Silhouette Cameo
- Red Paint
- Paint Brush (I prefer Foam Paintbrushes)
- Sandpaper
- Burlap Bow or Greens
So, before we get started I want to share a few tips! I really love using these foam brushes versus bristle brushes on projects like this for a few reasons. First, because we are sanding it anyway we only need a light layer of paint. Second, because we are sanding it, we don’t want a ton of paint lines to distract from the beautiful distressed look. I find that foam brushes really give you a much nicer, line free layer of paint.
Second, you can purchase your own vinyl lettering but you can also cut it out on your own machine. I prefer the Silhouette Cameo. You can get the starter bundle here and the vinyl here.
Directions
- Cut a 1×8 board at 4 feet. Sand the edges and face
- Paint a light layer of red paint on the board, dry
- Sand lightly, pay special attention to the edges
- Cut BELIEVE letters on your vinyl cutter. These are roughly 4 inches tall each. (If you are in Dell Rapids, contact me to cut some for you! $5)
- Arrange your letters on the board. You can do them straight as shown or add a little crook to them for a more whimsical look.
- Hot glue your burlap bow to the board.
You can make your own burlap bow easily by folding the burlap bow and then tying a piece of hemp in the middle, or you can purchase one already made. I have also found that you can buy greens, or put flowers, stickers of santa or a cross, etc on there instead. There are just so many different types of variations for this sign.


Leave a Reply