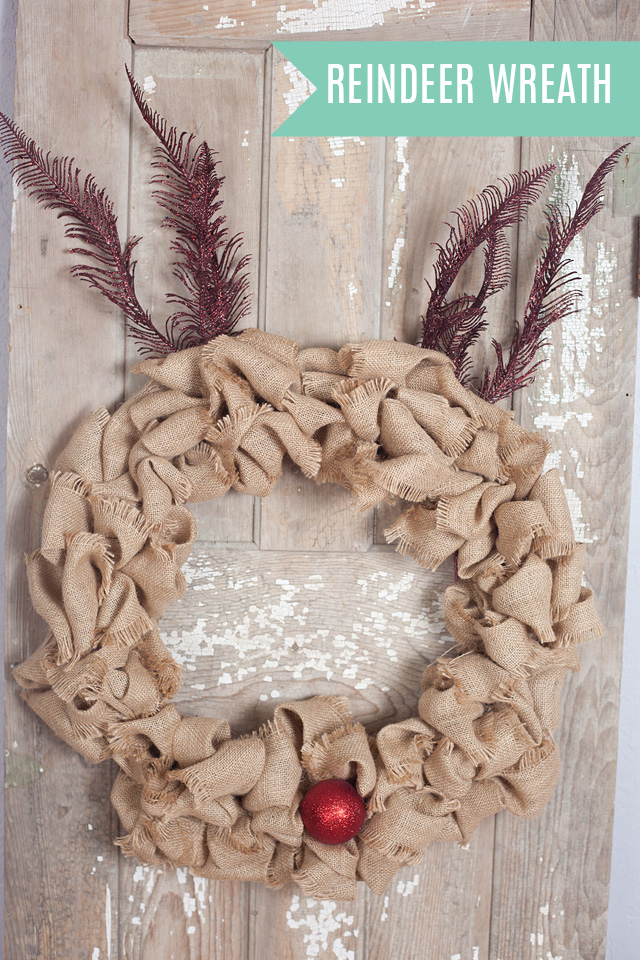
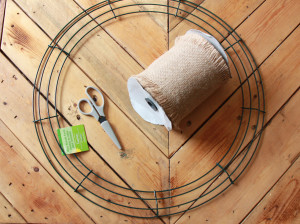
In the spirit of Christmas, I thought I would share with you this ADORABLE wreath I put together today. It was so easy, took me probably a total of 15 minutes once I got in the groove of it. The best part? There are only a few supplies you will need. You will need a roll of burlap, or you can even cut your own from a few yards of it. You will need some craft scissors, a wire wreath, and some people use plain wire to attach the burlap but I didnt need to. You will then need a red christmas ornament, and two red sprigs from your craft store. I found mine at Lynn and Leighs Gift Shop in Brookings. You may also want to use a glue gun to adhere things together, but as far as the ornament and sprigs I used removable velcro so that I can change it up for each season!
Not pictured: Velcro, Glue Gun, Wire, Sprigs and Ornament
This is very hard to explain without actually sharing a video, but I will post a video at the end of this post so you will get to see it in action. The first thing you want to do is take your burlap and either tie a knot onto the wire frame, hot glue it to the wire frame, or wire it to the frame. I actually just fed it through a ways and held it for my first few “hills” and then it eventually just stayed put. Then, at the end I tucked it in.
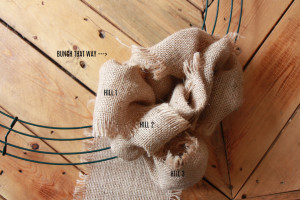
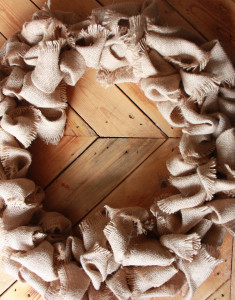
So you will see that each time you feed it through, there are three “hills” or humps. I just laid the burlap flat underneath the frame and pulled up through each wire to make a hill. You make three. Then, after you get through the last one, you hold it tight and twist it, and start over at the first wire again. This ensures it stays in place. Keep scrunching it as you go.
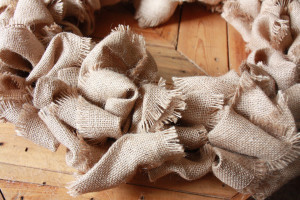
I actually used a burlap that had frayed edges. It made it somewhat difficult to work with but I loved the look in the end. When you watch the video that I found online, you will notice that hers are very very neat and clean (the humps part) but I was really really sparadic, twisting it and pulling it through kind of slopp-ily. I really like the random look of it!
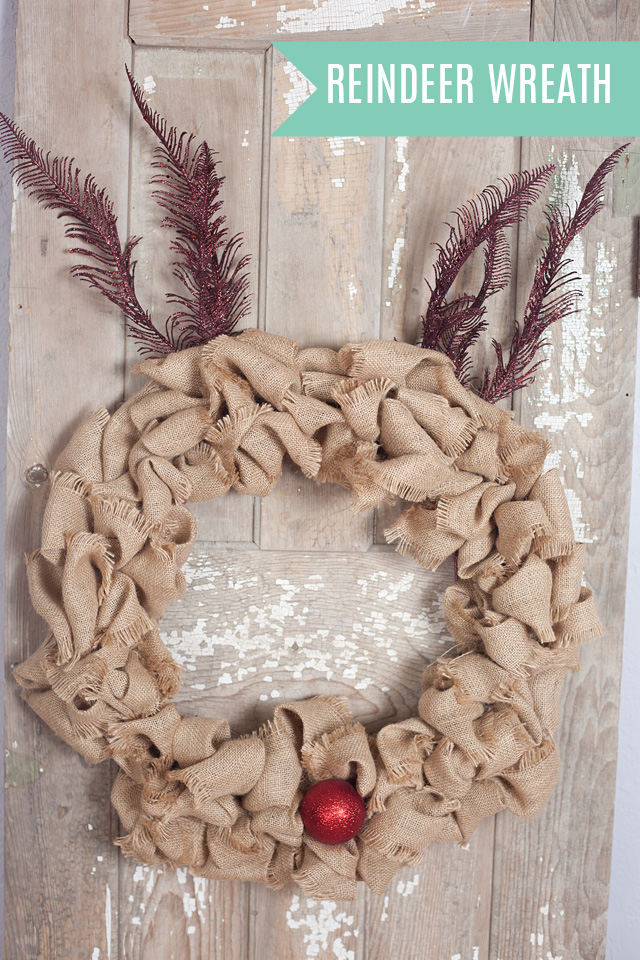
You have now completed the actual wreath itself. So, next you are going to take your sprigs, and you are going to adhere them to the back of the burlap wreath as if they are reindeer antlers. Then, adhere your bulb on the middle bottom as a nose. I actually used removable velcro circles for this part because I want to be able to change this wreath up as the seasons change!
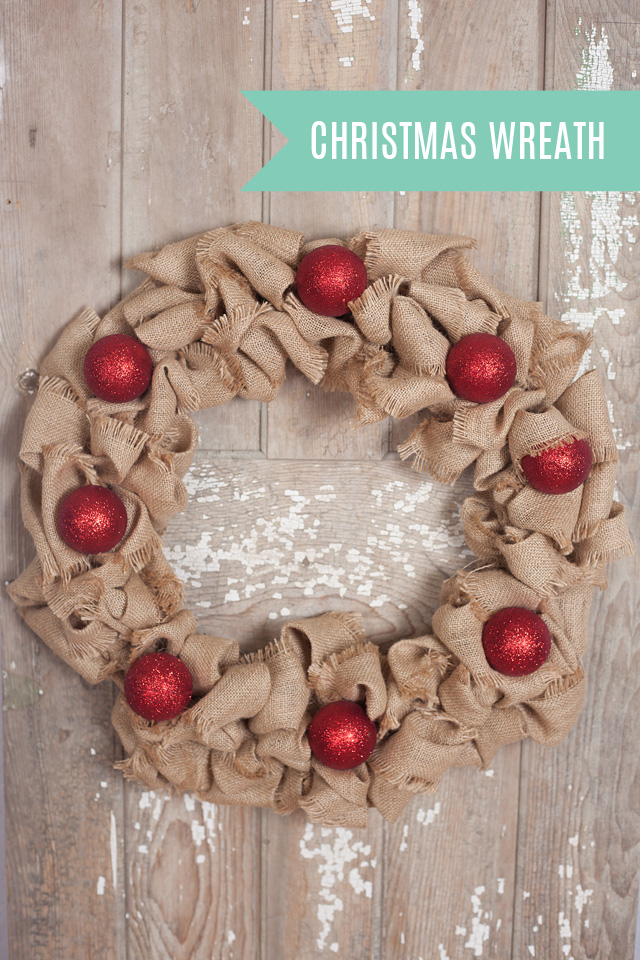
So, here you have your reindeer wreath, but you can also adhere Christmas Bulbs on it as shown here:
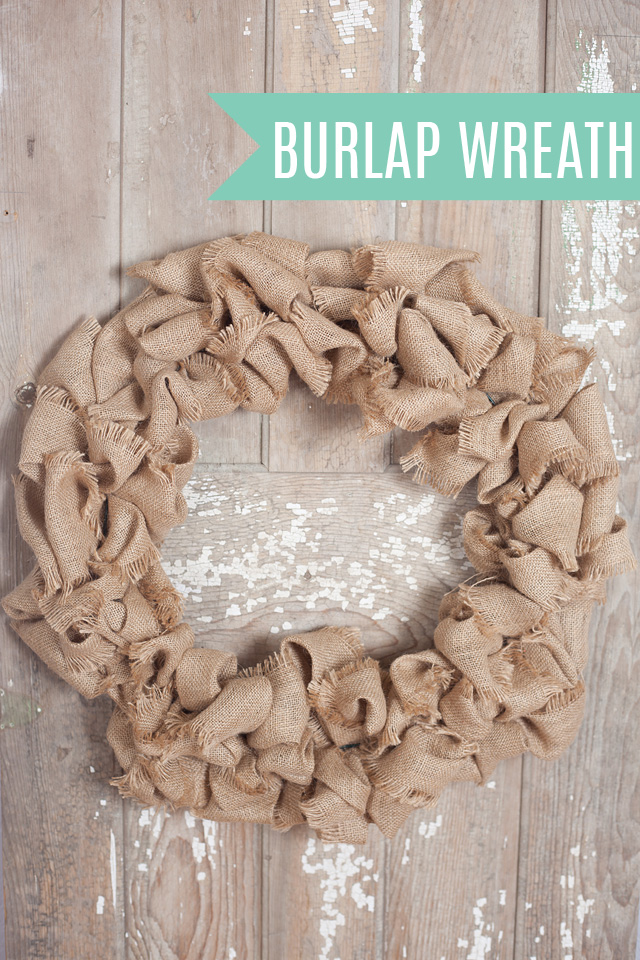
Or, you could even just leave it plain, for a very rustic, krafty look!
DON’T FORGET TO PIN THESE PROJECTS!
Want to watch a video on this? We loved this one!



Leave a Reply