I must have spring on my mind but all week I have been doing lots of spring cleaning & organizing, and now I am sharing a fun Easter / Spring Project with you! Its really quite funny how we get so upset that Christmas stuff goes out months earlier in stores, but no one seems to mind when Easter & Spring stuff makes an early debut.. at least I am not, that is!
It is usually about mid-January when I am ready for spring. Most would probably say they are always ready for spring, but born and raised in South Dakota where the winters are harsh, sometimes I am ready for a bit of a blizzard! Cold? No, not so much. I always say, if it is freezing it better be a blizzard!
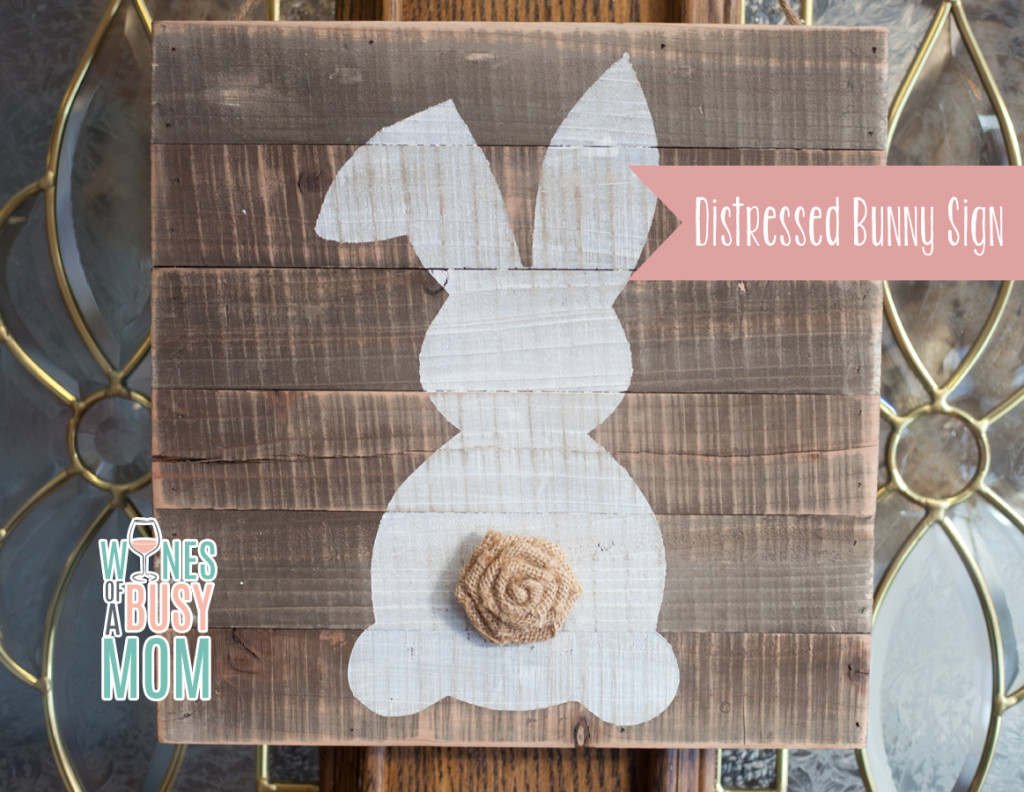
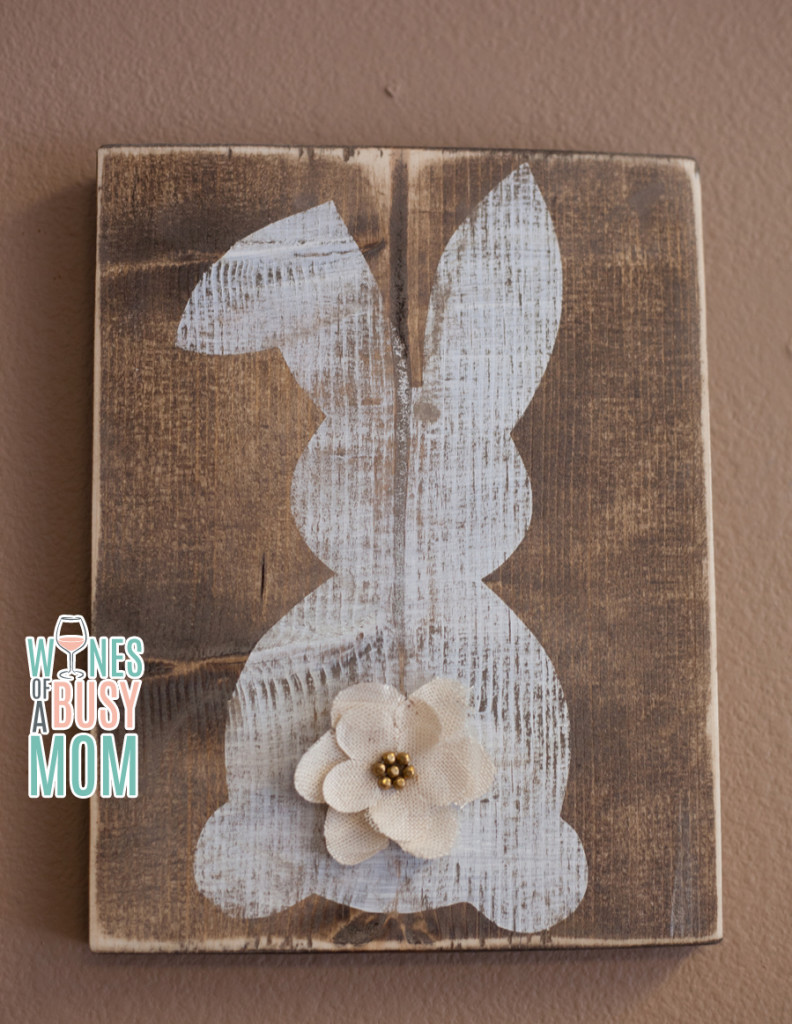
Today we are going to work on this super adorable Palette Wood Bunny Art. The best part about this, is you don’t have to tear apart any palettes, because you can buy a 12×12 palette ready to go!
Supplies
OR
and Sandpaper
Directions
Step One: Cut your bunny out using your silhouette cameo. I set up a board 12×12 and sized my bunny just a bit smaller than that.
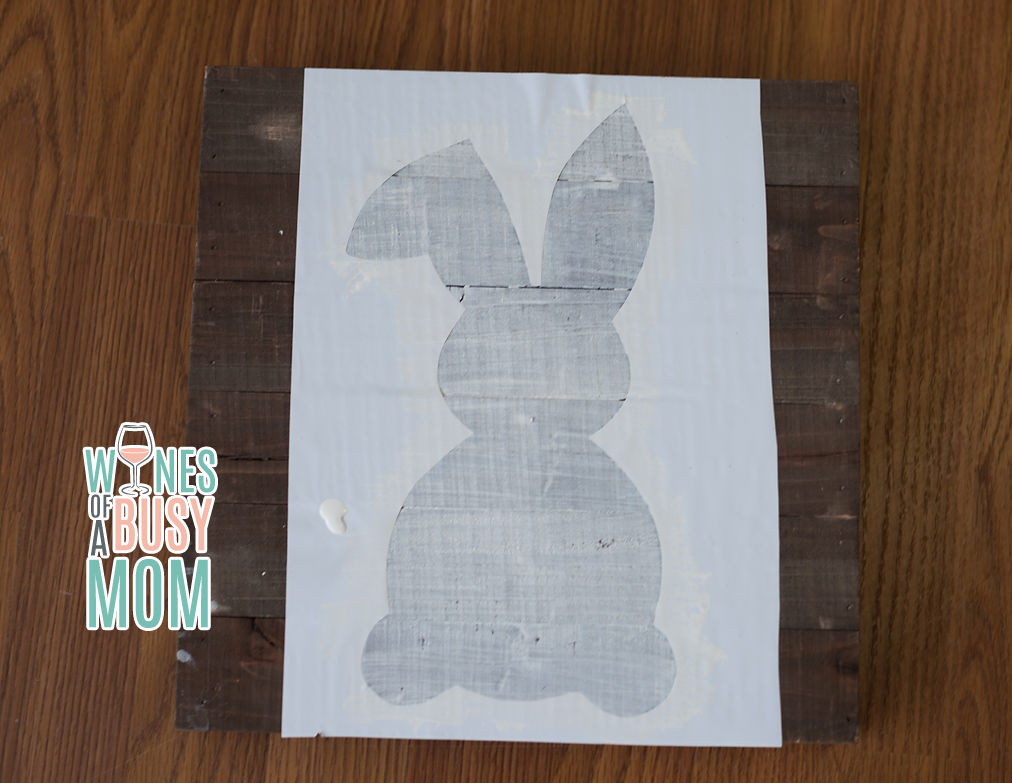
Step Two: Weed your vinyl, peel the bunny up leaving the outside so you can use that as a template. I found that leaving a good 1 inch border around the bunny is best, so you have a little bit more room to use it as a template without accidently painting the outside of the board. Apply transfer tape over the template.
Step Three: Position your template on the board. As soon as you have it positioned, slowly peel off the transfer tape leaving the vinyl to the board. The surface of this board is rough, so you will want to go slow as it will take a lot of patience to get it to stick! Once you have completely peeled off the transfer tape, press the vinyl down really good, especially around where you are painting to prevent your paint from bleeding.
Step Four: Paint inside your bunny. I usually go from the vinyl to the board, never the other way, if you paint into the template instead of out of the template, it leaves less room for bleeding. (In other words, start your paint strokes on the vinyl and go inward, not outward or against the vinyl. Paint will gunk up under the vinyl otherwise) Let Dry
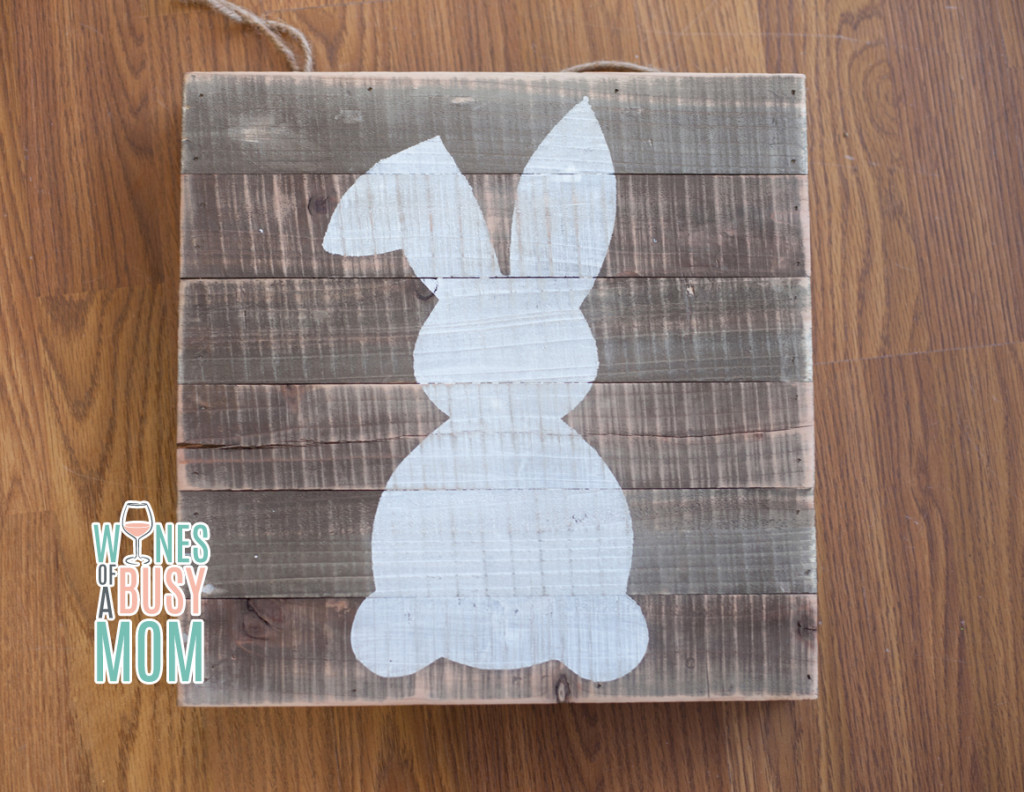
Step Five: After you ensure it is completely dry (if you peel it up while its wet there is more of a chance of bleeding) peel up your vinyl template, leaving your painted bunny. Some people like to leave it just like this, but I LOVE the distressed look, so onward to step six!
Step Six: Lightly sand with sandpaper. I LOVE using an electric sander because It saves so much time, (and I hate the feel of sandpaper against stuff)
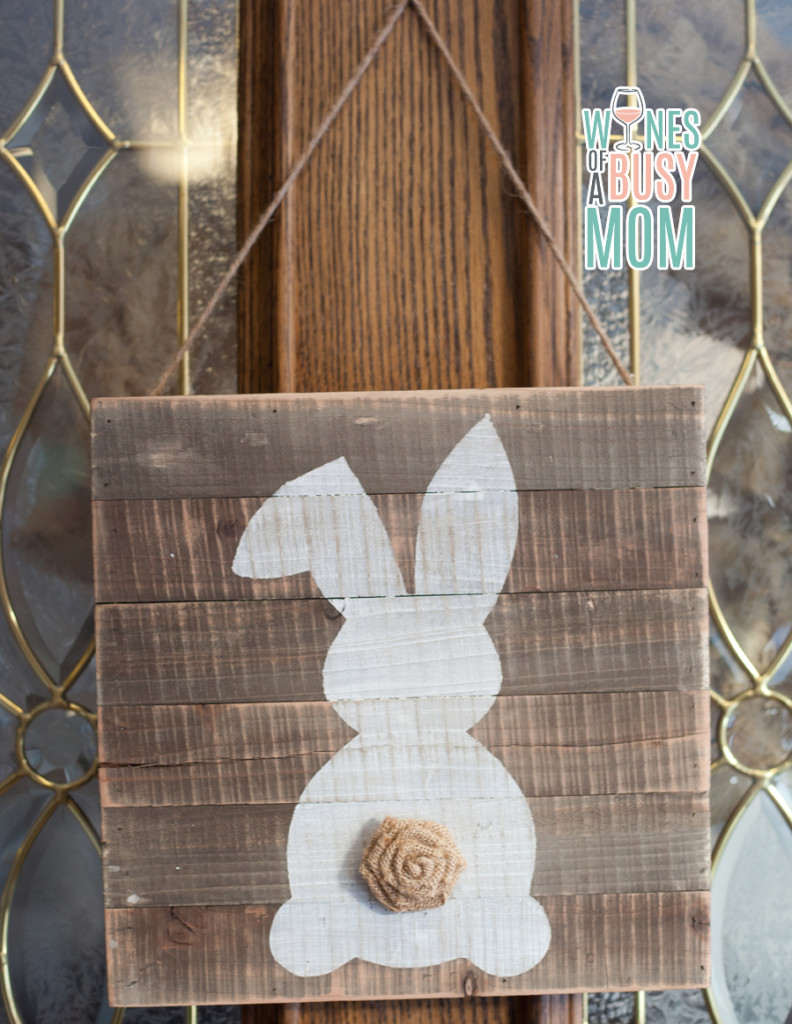
Step Seven: As soon as you have achieved your desired level of distressing, its time to apply the burlap flower! Using a little bit of hot glue, (even if it has adhesive on the burlap flower I would still use hot glue to ensure it has a good hold) adhere your burlap flower as a “tail” on your bunny!
I have also made this same bunny on a piece of 1×8. I simply stained it before hand!



Leave a Reply